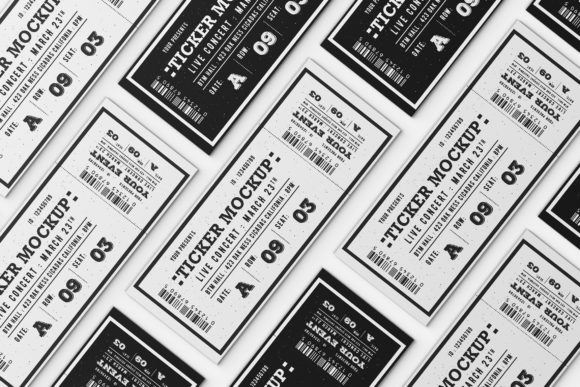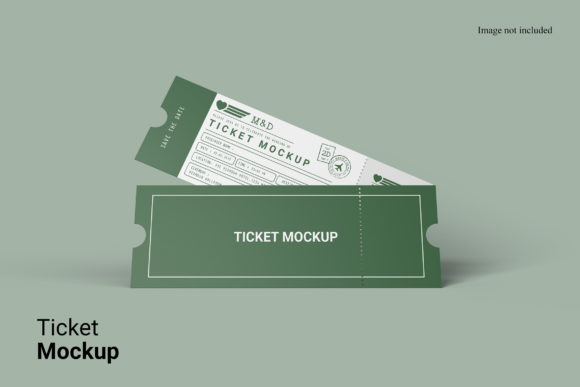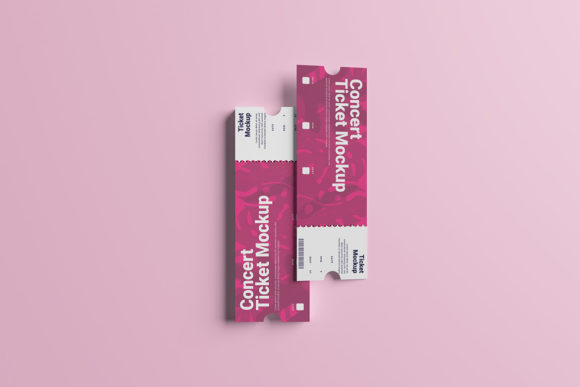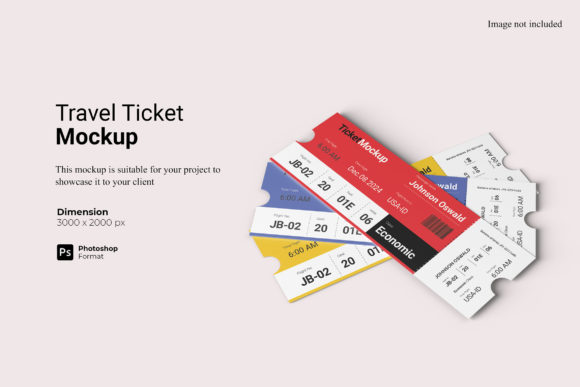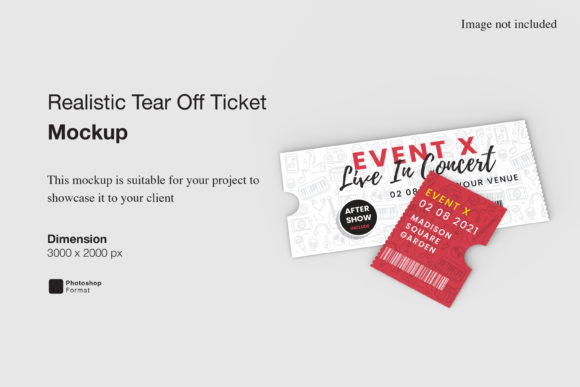
Realistic Tear off Ticket Mockup
In the landscape of graphic design and marketing presentation, the gap between a flat digital file and a client-ready visual is often bridged by context. A standalone image of a ticket design, no matter how beautifully crafted, lacks the tactile reality that convinces stakeholders of its viability. This is where a Realistic Tear off Ticket Mockup becomes an indispensable asset in your creative workflow. It transforms abstract vector data into a tangible product representation, allowing designers, entrepreneurs, and marketers to visualize their work within a three-dimensional space before committing to print or final distribution.
The primary value of this tool lies not just in aesthetics, but in efficiency. For professionals managing multiple projects, the ability to swap designs rapidly without rebuilding the scene from scratch saves hours of manual labor. By utilizing smart-object technology within Photoshop, you can integrate your branding elements into a pre-lit, textured environment instantly. This article explores how to leverage this specific mockup to streamline your presentation process, ensure consistency across deliverables, and communicate your ideas with greater impact.
Understanding the Workflow Integration
Before diving into the technical setup, it is crucial to understand where this mockup fits into the broader design lifecycle. Most creative workflows follow a linear path: concept development, drafting, refinement, and finally, presentation. The Realistic Tear off Ticket Mockup operates at the intersection of refinement and presentation. It serves as the bridge between internal quality control and external client approval.
When working on event promotions, concert passes, raffle entries, or loyalty cards, the physical attributes of the ticket—such as the perforation, paper texture, and shadowing—play a significant role in perceived value. A flat JPEG export cannot convey these nuances. By integrating your design into a 3D display early in the review phase, you can identify potential issues with contrast, legibility, and scale that might be missed on a screen. This proactive approach reduces the need for costly revisions later in the production pipeline.
Preparation and Compatibility
To maximize the utility of this asset, preparation is key. The mockup is provided in PSD format, which requires Adobe Photoshop to access its full functionality. Specifically, it relies on Smart Objects, a feature that allows for non-destructive editing. If you are using alternative software like GIMP or Affinity Photo, you may encounter limitations regarding layer masking and smart object replacement, so ensuring your team has access to the correct tools is the first step in implementation.
File organization also impacts efficiency. When downloading assets like this, create a dedicated folder structure for your mockups. Separate the source files from your actual design drafts. This separation prevents accidental overwriting and keeps your project directories clean. Furthermore, verify the resolution settings. The provided 3000x2000 px size at 300 dpi is optimized for high-quality web displays and standard print proofs. Understanding these parameters helps you set realistic expectations for output quality and ensures that your final exports meet industry standards for sharpness and detail.
Executing the Design Swap
The core functionality of the Realistic Tear off Ticket Mockup revolves around ease of use. The inclusion of smart objects means you do not need to manually align layers, adjust perspective matrices, or recalculate lighting shadows. The workflow is designed to be intuitive, reducing the cognitive load on the designer.
- Open the Source File: Launch the PSD file in Photoshop. Ensure you have the latest version installed to support all layer styles and effects.
- Locate the Smart Object: In the Layers panel, look for the layer labeled "Replace Here" or similar. It will typically have a small icon indicating it is a Smart Object.
- Double-Click to Edit: Double-clicking this thumbnail opens a new tab containing the default template. This acts as a canvas specifically sized and masked to fit the ticket area.
- Insert Your Design: Drag and drop your own artwork into this open tab. Resize and position your logo, text, and graphics to fit the designated safe zones. Pay attention to bleed areas if your design extends to the edges.
- Save and Update: Once satisfied with the placement, save the Smart Object file (Cmd+S or Ctrl+S). Return to the main mockup window, and your design will automatically update, complete with realistic warping, shadows, and lighting adjustments.
This process can be repeated in seconds. For agencies presenting multiple color variations or different event themes, this speed is critical. You can generate a suite of mockups showing red, blue, and green variants of the same ticket without lifting a finger beyond the initial setup. This capability supports agile decision-making, allowing clients to compare options side-by-side rather than imagining hypothetical outcomes.
Customization and Visual Control
While the default lighting and background provide a strong starting point, professional presentations often require tailored environments. The Realistic Tear off Ticket Mockup includes features for changing the background color, giving you control over the mood and context of the presentation.
Consider the psychological impact of your backdrop. A dark, moody background might suit a nightlife event or a premium VIP pass, emphasizing exclusivity and elegance. Conversely, a bright, neutral background works better for community events, educational workshops, or family-friendly activities, conveying openness and accessibility. By adjusting the background hue, you can test how your ticket design interacts with different environmental tones, ensuring that the contrast remains sufficient for readability and brand recognition.
Additionally, the realistic rendering helps in assessing typography choices. Large headlines or intricate details might lose clarity when subjected to the simulated folds and curves of a physical ticket. Using the mockup allows you to scrutinize font weights and kerning under realistic conditions. If text appears too thin or blurry in the 3D preview, you know to make adjustments before sending the file to the printer.
Strategic Use Cases Across Industries
The versatility of this mockup extends beyond simple graphic design tasks. Different roles within a business ecosystem can benefit from its application in distinct ways.
For Marketers and Event Organizers
Marketing teams often struggle to sell the physicality of an event experience through digital channels alone. Using the mockup in social media campaigns, email newsletters, or pitch decks adds a layer of professionalism and tangibility. It helps potential attendees visualize the reward they will hold in their hands, increasing engagement and conversion rates. For freelancers pitching to local businesses, having a polished mockup ready to go demonstrates preparedness and attention to detail.
For Educators and Publishers
Educators creating interactive learning materials or publishers designing activity books can use this tool to prototype voucher systems or reward certificates. Seeing the final product layout helps in planning the user journey, ensuring that instructions are clear and the tear-off mechanism is logical. It aids in the pedagogical design process by making abstract concepts concrete for students.
For Small Business Owners
Entrepreneurs launching loyalty programs or gift card initiatives need to validate their designs quickly and cost-effectively. Instead of paying for expensive physical prototypes, a high-fidelity digital mockup provides immediate feedback. It allows for rapid iteration based on customer preferences, reducing waste and accelerating time-to-market.
Quality Assurance and Best Practices
Integrating a mockup into your routine requires adherence to certain best practices to maintain quality control. First, always keep your original design files separate. Never edit directly inside the Smart Object without saving a backup of the source file. This ensures that if you need to make global changes to your brand assets later, you can do so without losing fidelity.
Secondly, be mindful of the illustration disclaimer. Photos used in previews are for demonstration purposes only. Do not assume that the exact lighting setup matches your real-world printing conditions. While the mockup is highly realistic, actual print results can vary based on paper stock, ink type, and finishing techniques. Use the mockup for design validation and presentation, but always consult with your print vendor for technical specifications regarding color profiles (CMYK vs. RGB) and resolution limits.
Finally, organize your library of mockups. As you accumulate various templates—different angles, lighting conditions, and props—create a standardized naming convention. This makes future projects more efficient, as you can quickly locate the right context for your current task. Over time, this investment in organization pays dividends in reduced setup times and smoother client interactions.
Conclusion
The Realistic Tear off Ticket Mockup is more than just a visual aid; it is a strategic tool that enhances communication, accelerates approval processes, and elevates the perceived value of your work. By understanding its integration points, mastering the smart-object workflow, and applying it strategically across various industries, you can transform how you present and refine your designs. In a competitive market, the ability to showcase professional, realistic visuals efficiently is a significant advantage. Embrace this tool to streamline your creative execution and deliver results that resonate with both clients and end-users.